
Our Backyard Swingset Adventure: From Box to Backyard Bliss!
As parents, we’re always looking for ways to create magical memories for our kids, and what’s more classic than a backyard swingset? With a 10-year-old and a rambunctious 1.5-year-old at the time, we knew a playset would be a fantastic addition to our home in Kentucky. So, we took the plunge and ordered a swingset kit from an online retailer, ready for a new family project!
Phase 1: Building a Foundation for Fun (Literally!)
Before the fun could truly begin, we had to tackle the less glamorous but incredibly important task of site preparation. Our chosen area needed some serious love to make it safe and level. We envisioned a dedicated play zone, complete with proper drainage and a soft landing.
First, we started by building up the lawn in the area. This involved a multi-layered approach to ensure good drainage and a stable base. We laid down a generous amount of soil, followed by sand, and then a layer of gravel. This combination would help with water runoff and provide a solid foundation.
Next came the edging. We opted for sturdy 4×4 posts to create a defined border for our play area. These posts were joined together using tie plates, ensuring a robust and long-lasting edge that would hold everything in place. It’s amazing how much a defined border can transform a space!
Phase 2: Bringing in the Green (and White!)
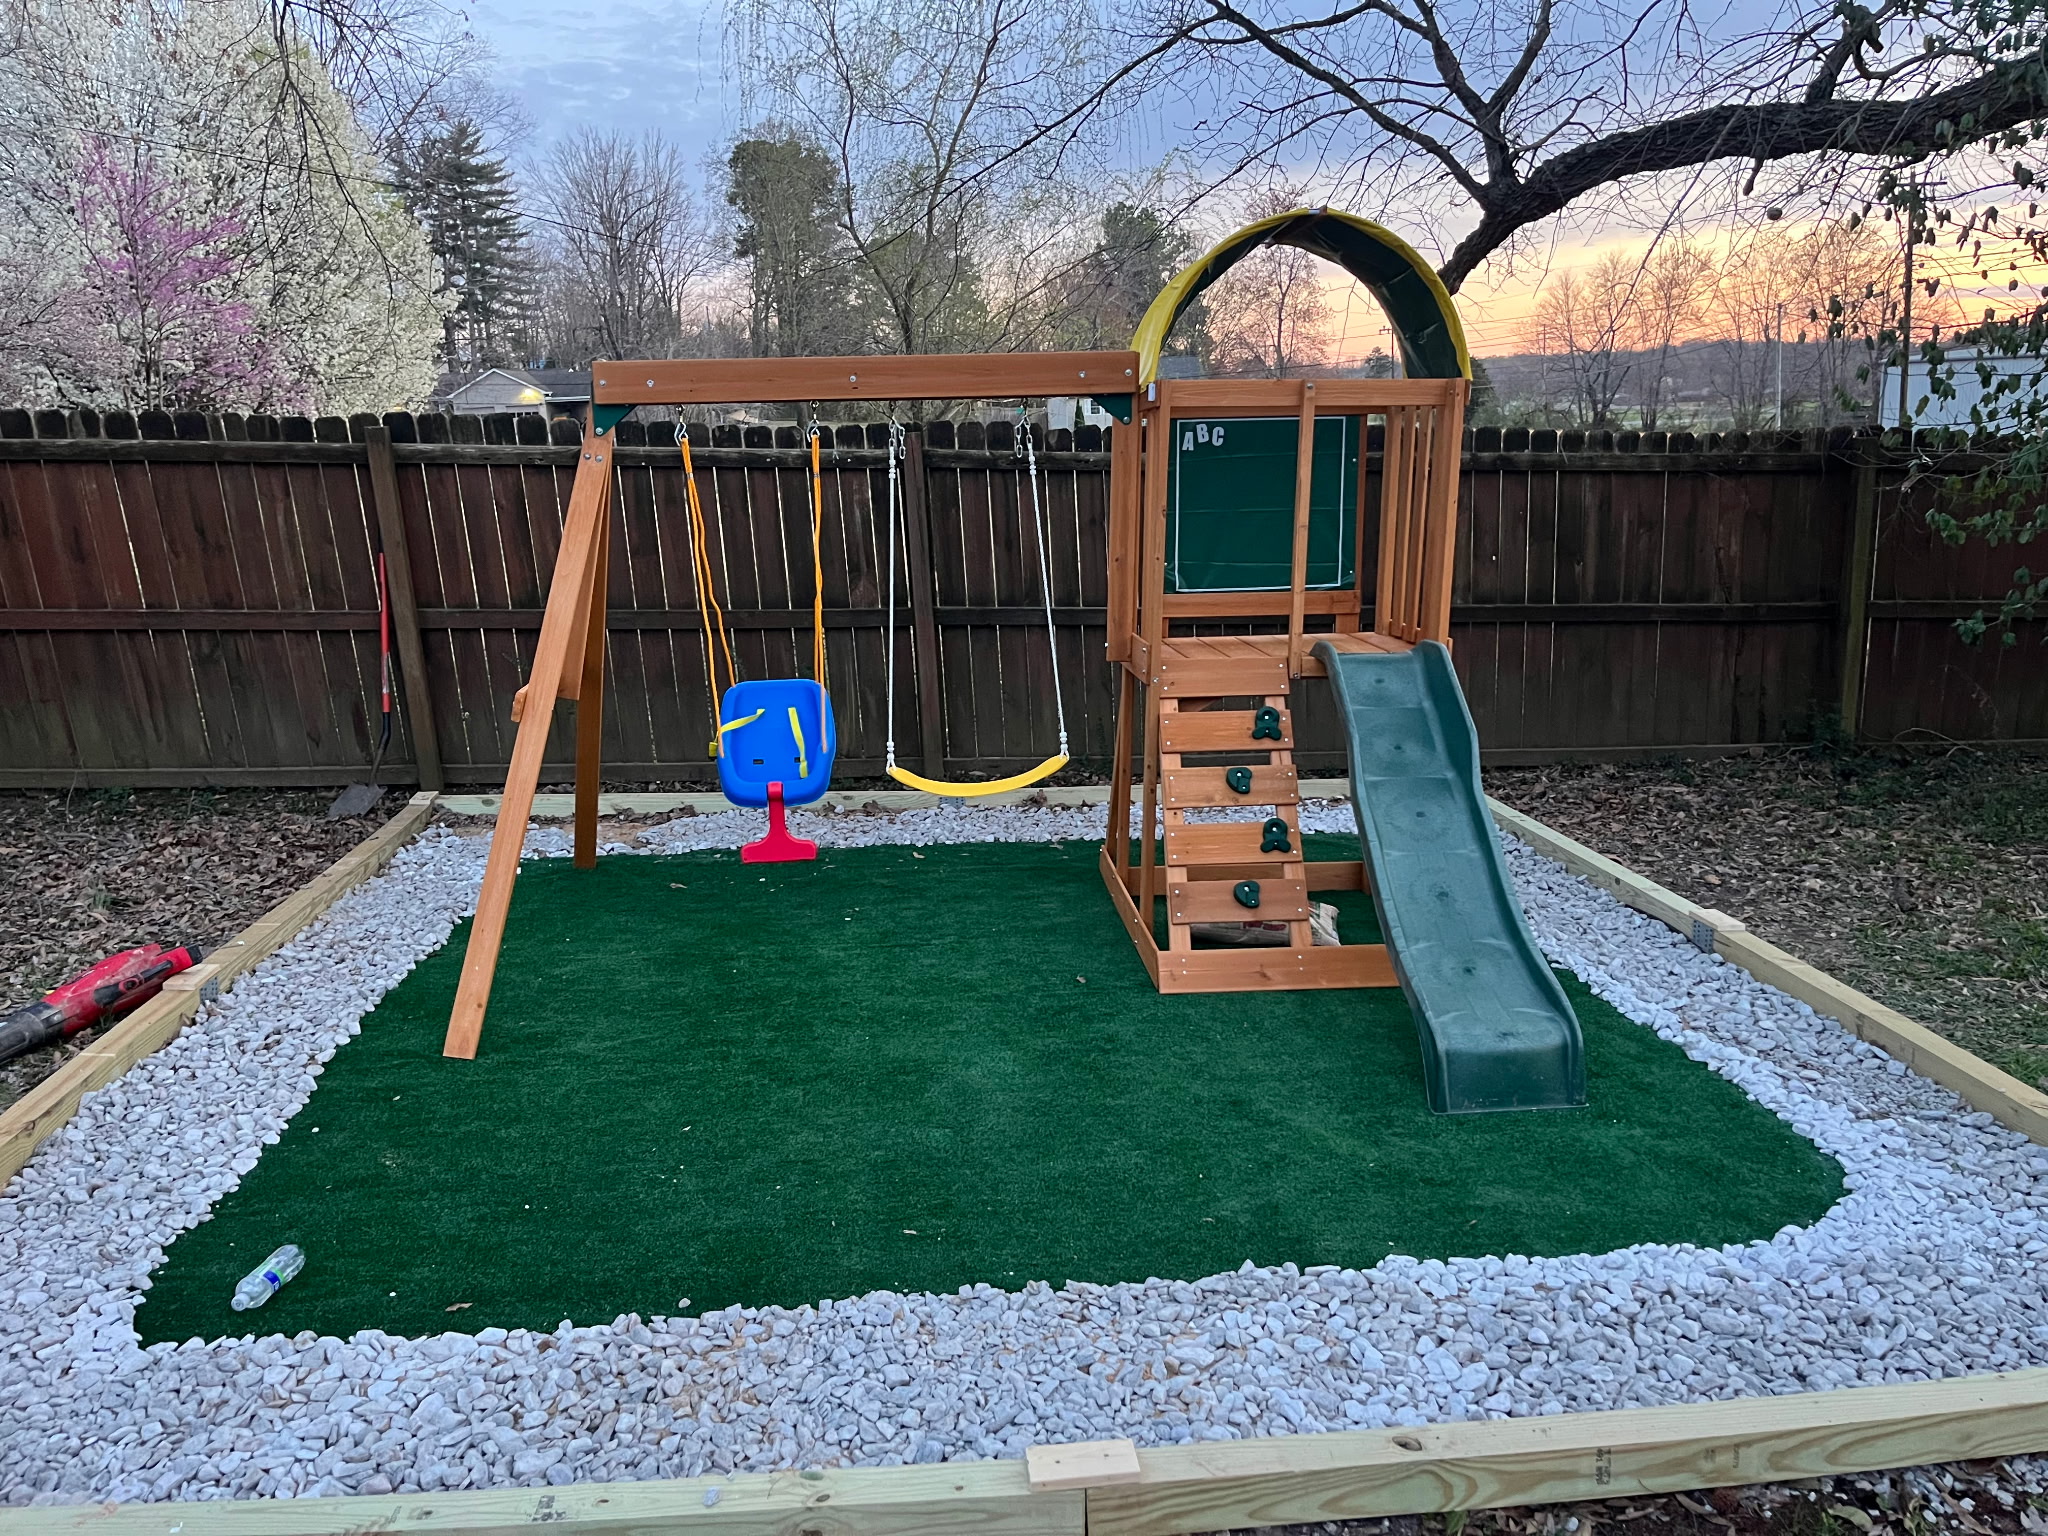
With the foundation and edging complete, it was time to add the finishing touches to our play zone. For the central portion of the playground area, we wanted something soft, safe, and easy to maintain. Our solution? Artificial turf! We headed over to Menards and picked up several rolls, which were surprisingly easy to install and immediately gave the area a vibrant, green look without the hassle of mowing.
Around the perimeter of the turf, to complement our 4×4 post edging, we decided on a beautiful contrast: white crushed marble. This not only added a clean, finished look but also helped define the turf area and provided another layer of soft surfacing.
Phase 3: The Assembly Challenge (and Triumph!)
Finally, the moment we’d been waiting for: assembling the swingset itself! The kit arrived in several large boxes, filled with what seemed like a thousand pieces of wood, bolts, and instructions. Thankfully, we weren’t alone in this endeavor! My wife’s parents generously came down to our House to lend a hand, which was an absolute lifesaver. They not only helped keep our 10-year-old engaged and our 1.5-year-old supervised, but they also jumped right into the assembly process.
My 10-year-old, with her eagerness and budding construction skills, was a fantastic helper, handing me tools and sorting pieces. The 1.5-year-old, of course, was the chief supervisor, offering encouragement (and occasionally trying to “help” with the smaller parts!). Having extra hands for both the kids and the construction made the entire process so much smoother and more enjoyable.
It was definitely a multi-day project, filled with deciphering diagrams, occasional head-scratching, and the satisfaction of seeing each piece come together. There were moments of “are we sure this goes here?” and “I think we’re missing a bolt!” but with teamwork, persistence, and the fantastic help from Grandma and Grandpa, the structure slowly began to take shape.
Finally, after hours of measuring, screwing, and bolting, our swingset stood tall and proud in our backyard!
The Payoff: Pure Joy!
Seeing the pure joy on my children’s faces as they swung for the first time made every single moment of hard work worth it. Our 10-year-old soared to new heights, while our little one giggled with delight on the baby swing. The carefully prepared play area, with its soft turf and secure edging, provided the perfect safe haven for their adventures.
It’s more than just a swingset; it’s a testament to a family project, a symbol of outdoor fun, and a source of countless memories yet to be made in our backyard. And a special shout-out to my in-laws for being such incredible helpers!
Here’s a look at our completed play area!